Overview
SMS is the preferred way to send surveys to the end customers since it does not require an Internet connection and is the way most people are used to receive surveys. This article explains how to configure an SMS survey using the Survey Manager.
Information
To start configuring a survey to be sent by SMS, you must have first created it. Click here if you need to know how to create a survey.
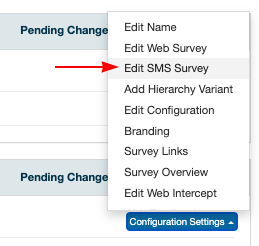
Once you have it, locate it on the Survey Library. Then, click on Configuration Settings, Edit SMS Survey:
This article will help you to:
Initial Configurations
This is the first screen you see when you edit the SMS survey:
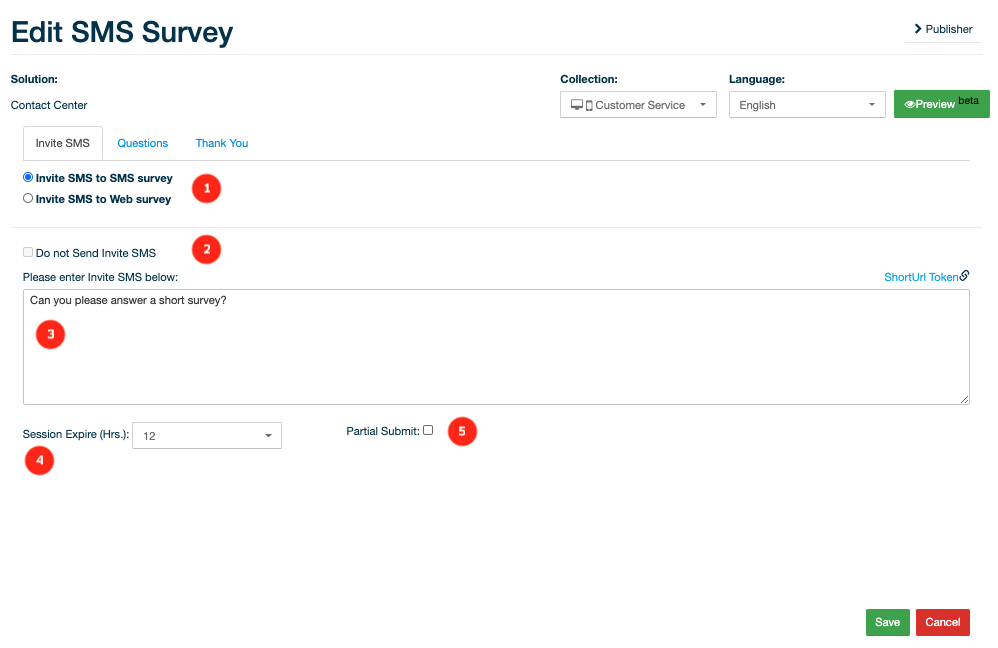
Take a look at what you need to configure:
(1) The first thing you need to decide if the whole survey will be answered exchanging SMS messages or if you will only invite the end customers using SMS and then direct them to answer the survey on the web. If you choose to do everything via SMS, select Invite SMS to SMS survey. Otherwise, select Invite SMS to Web survey.
(2) Always leave this checkbox unchecked.
(3) Check the text of the first SMS that will invite people to answer the survey. If the invitation is for a web survey, click on ShortUrl Token to insert a placeholder for the survey URL, that will be replaced before the message is sent to its recipient.
(4) Set the maximum time the system will wait for people to go on answering the survey once they started it. After that time, responses will no longer be accepted.
(5) Select the Partial submit checkbox if you want reports to consider the incomplete surveys. Otherwise, only finished surveys will be counted.
Adding the Questions
Move to the Questions tab.
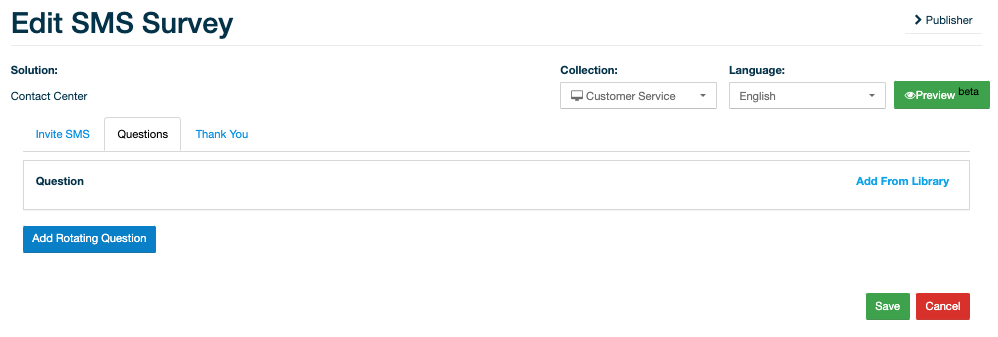
You can add questions by clicking on Add from library. This window will open:
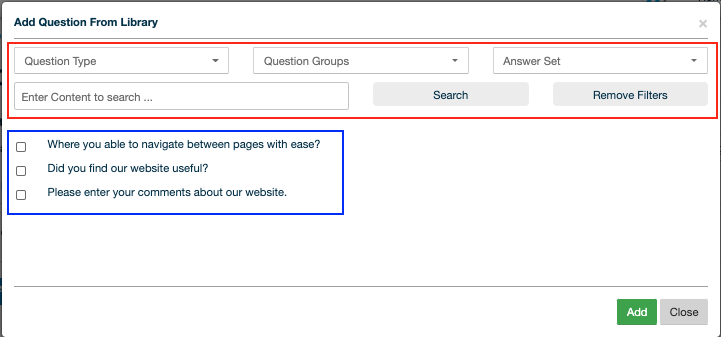
The area indicated by the blue rectangle contains the questions from the categories tied to the solution. Select the questions you would like to add to your survey. Do not mind about the order yet.
The area indicated by the red rectangle is used to filter the list of questions in the blue rectangle and is useful when you have lots of questions and want to find a specific one. You can filter questions by type, group, answer set, and by text.
When you are done selecting the questions, click Add.
After adding the questions, you will see them:
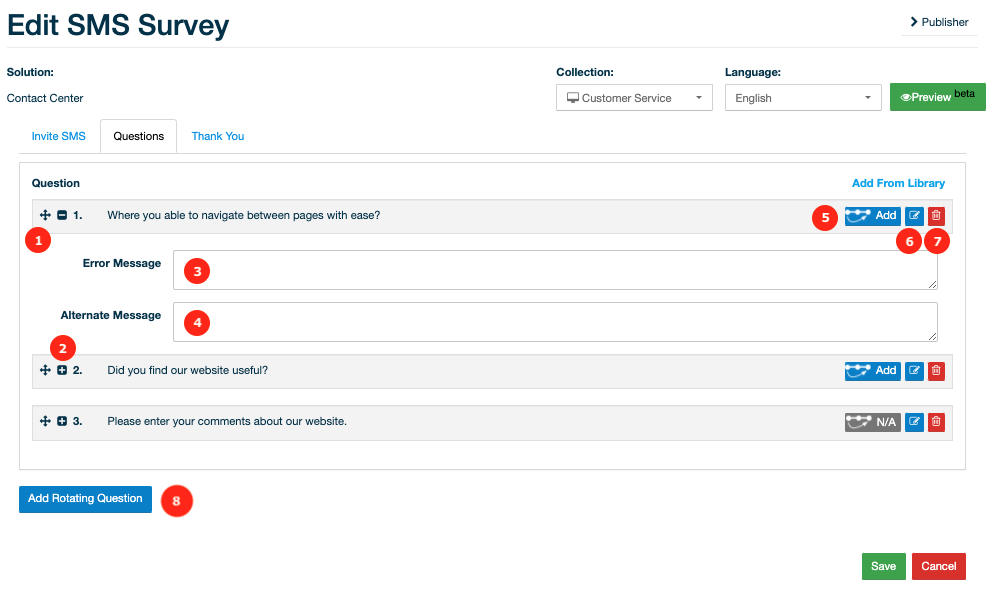
On this screen you can:
(1) Reorder the questions. Drag the question holding on the cross icon and drop on the desired position.
(2) Expand and collapse the inner panel.
(3) Configure the message to display when the user selects an invalid option.
(4) Configure another text for the question specifically for this survey.
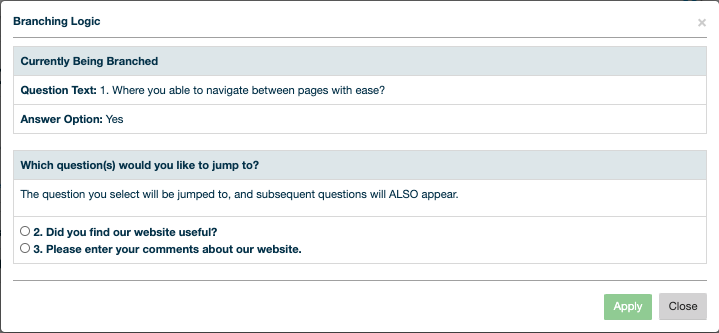
(5) Add branching. Configure the next questions depending on the answer chosen by the person.
(6) Edit the question in the library.
(7) Remove the question from the survey.
(8) Add a rotating question. When you click it, a group will be added:
Add other questions, drag them, and drop them inside the group. During the survey, one of these questions will be randomly selected to be answered.

Configure the FInal Message
Finally, move to the Thank You tab.
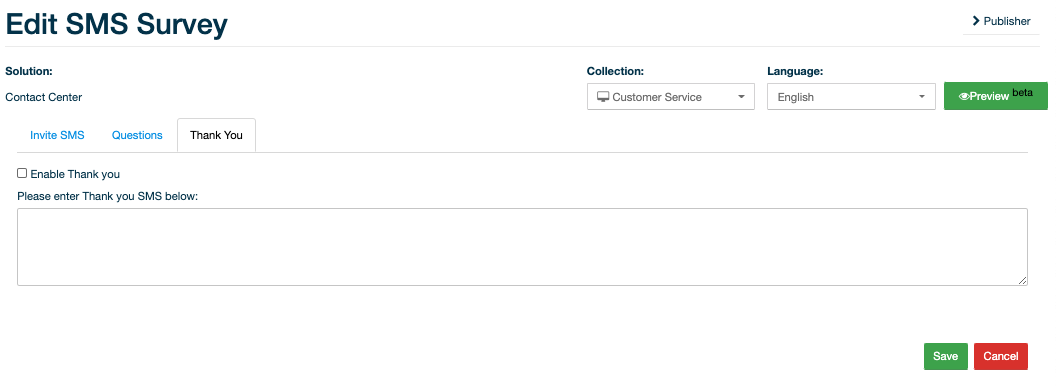
Select the Enable Thank you checkbox if you want to send a message after the survey is completed. Then, enter the message you would like to be sent in the textbox.
When you are done, click on Save.
Priyanka Bhotika
Comments