Overview
Users can be made accountable for hierarchy nodes, which is necessary to determine recipients for feedback alerts, scorecards, push reports, and other workflow rules related to organizational hierarchies.
Note: The hierarchy accountability is the only thing that determines who will receive the reports. There is no distribution list to which an email address can be added.
It is also displayed visually in specific portions of the ResponseTek Portal.
Information
<supportagent>
Note for agents: client requests on this subject must be approved by an authorized program manager.
</supportagent>
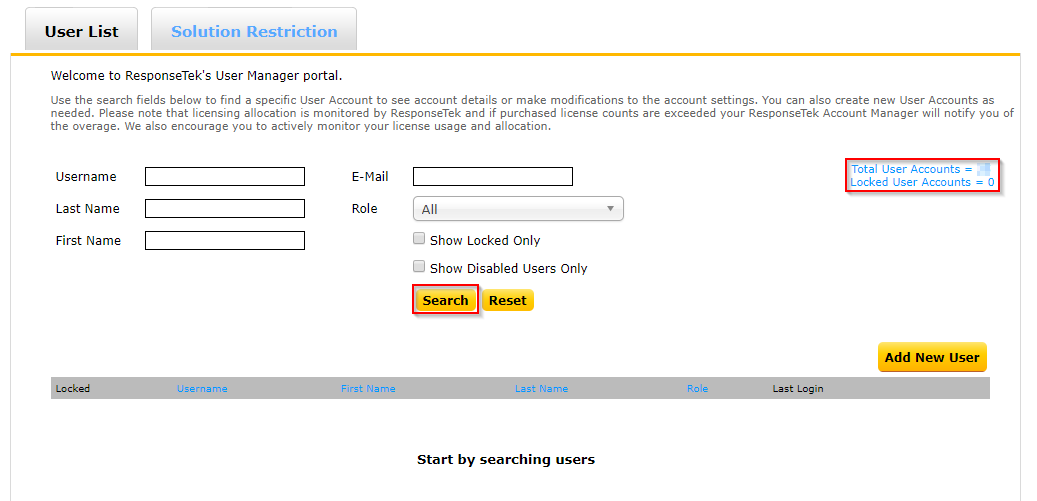
- Login to the ResponseTek Portal.
- Go to Tools > User Manager from the menu. The User Manager tool is launched in a new window.
Note: If the User Manager menu is not available for you, talk to the person in your company responsible for managing ResponseTek users.

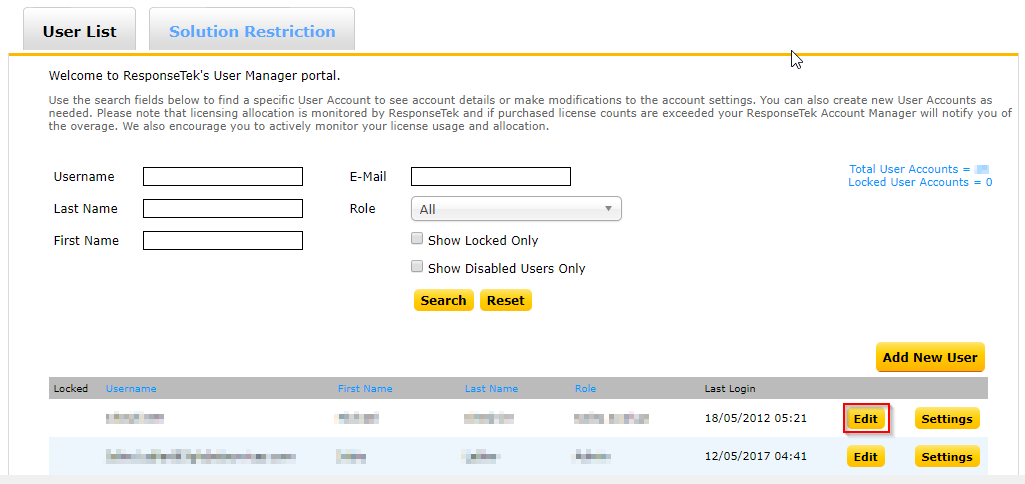
- Search for the user that you need to modify or click on the Total User Accounts option on the right. Clicking on the Search button displays a full list of users.
- Click Edit next to the user.
- The Edit User Form is displayed. Click the Hierarchy Accountability tab.
- Click on the Add button from the Hierarchy Accountability window.
- The Select Hierarchy window is displayed allowing you to search for nodes in two ways:
- By entering a node name.
- By entering the “#” sign followed by the node ID.
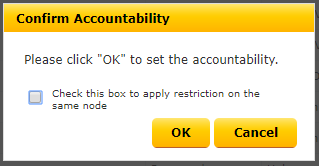
- Click the hierarchy node that needs to be applied. The Confirm Accountability window is displayed.
- Click OK to set the accountability.


To Modify Hierarchy Restrictions refer to Modify Hierarchy Restrictions in User Manager tool.
<supportagent>
Related Articles
</supportagent>
Priyanka Bhotika
Comments